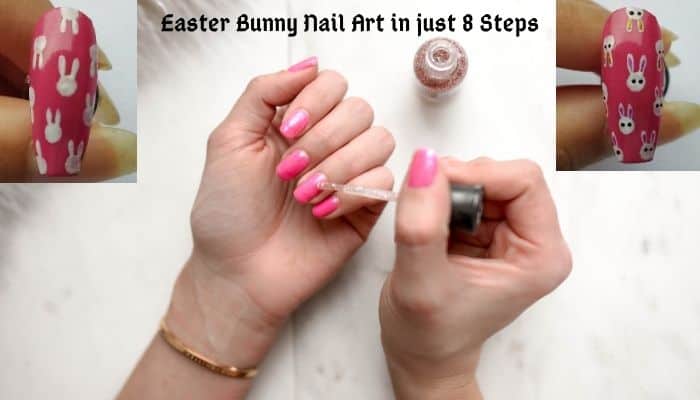
I am sharing a cute Easter bunny Nail art in just 8 easy steps. This is one of the most request nail designs. I got lots of requests via different social media in which you guys asking about easy bunny nail design. I decided to create the easiest and one of the cutest nail art designs today.
Actually, this one is not a new design for me. I feel like it takes much less effort and time according to other bunny’s designs. You need to create the main design and then fill the rest do the nails too. This needs lots of efforts, you have to choose the perfect color, pattern, and design along with that bunny design.
But in this easter bunny nail art, you have to practice the easy bunny face design. Then just fill the nails with the same small cute bunny faces design.
I love bunny and I’m sure you love it too that’s why you are here. Bunnies are cute and are loved by teenage girls and adult women too. Age never matters to me. I think you can get whatever design you want. You should satisfy yourself instead of thinking about other’s thinking.
You can also check out some other cute nail designs here- snowman nail art, Chicken Nail Design, Christmas nail arts or Floral nail designs.
let’s start with the Products and steps if making.
Product used:-
1: base coat
3: “P101” gel paint from gel favour
4: “P102” gel paint from gel favour
5: “ summer breeze” stamping gel paint from bornpretty
6: “ counter-current” stamping gel paint from bornpretty
7: line brush
8: dotting tool
9: UV/led lamp from bornpretty
10: topcoat
Easter Bunny Nail Art Steps
Here’s a design which is quite easy because it’s easy to make bunny heads and when you make them this small, you don’t have to give them so much detailing to the design to look good, all you have to do is make them clean and tidy, and the designs will itself look good.
1 Prepare you Nails And Apply Base
At first, you have to apply a base coat on your clean nails. By clean nails, I meant not only to remove old nail polish but also the natural oil with nail polish remover from your nails.
I mostly get this question about how to prevent polish from chipping this fast. And I always suggest to prep your nails before applying a base coat so it’s an important step.
Cut your nails (if needed) remove old polish, file the nails in shape then apply base coat. Your natural oil creates a layer and prevents the base coat from sticking to the nail. Which results in chipping.
After prepping your nails and applying the base coat it’s time to apply the colored polish. I apply pink color polish and I think the light blue shade or any pastel shade will also look good with this design.

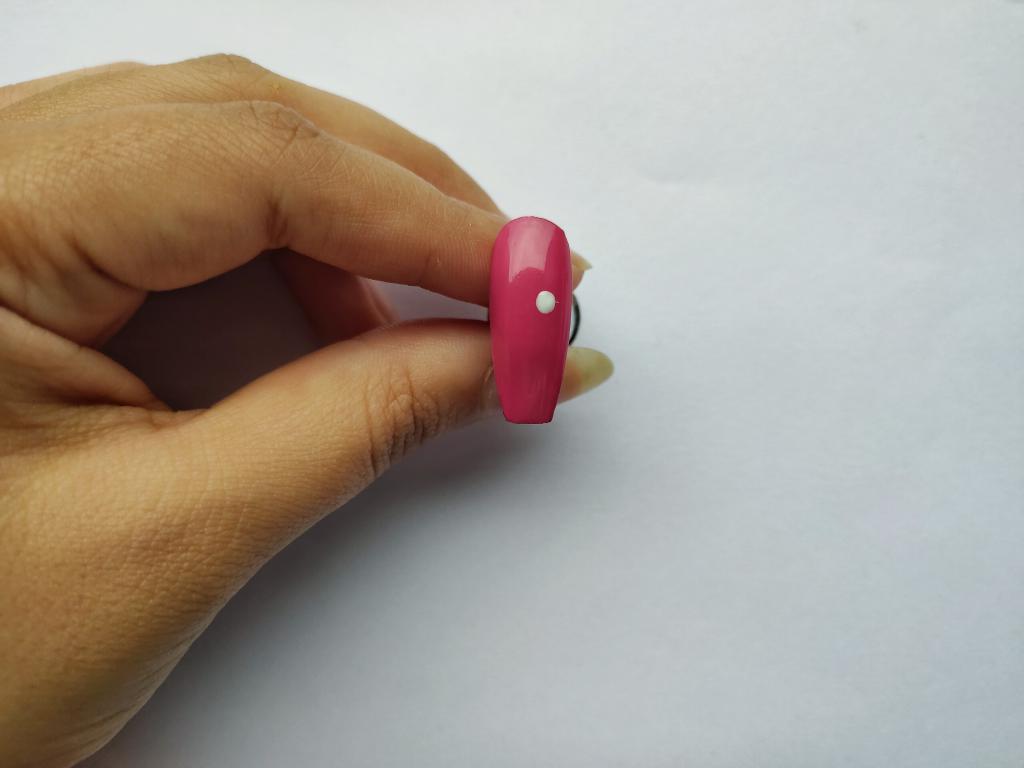
2:Make a Dot
For the design, I draw the whole design with a liner brush but I think it will be easier to make the circle with a dotting tool (for beginners). Start with drawing a circle in the middle of your nail. The circle shouldn’t be big cause we want so many small bunnies on one nail so the circle shouldn’t be big.
3:Make the ears of your bunny
After making the circle with white color gel paint, it’s time to make ears on top of it to complete the bunny head. For ears draw the little big in comparison of the circle.
Tip:- the distance between them shouldn’t be more than the thickness of the ears you’re making.

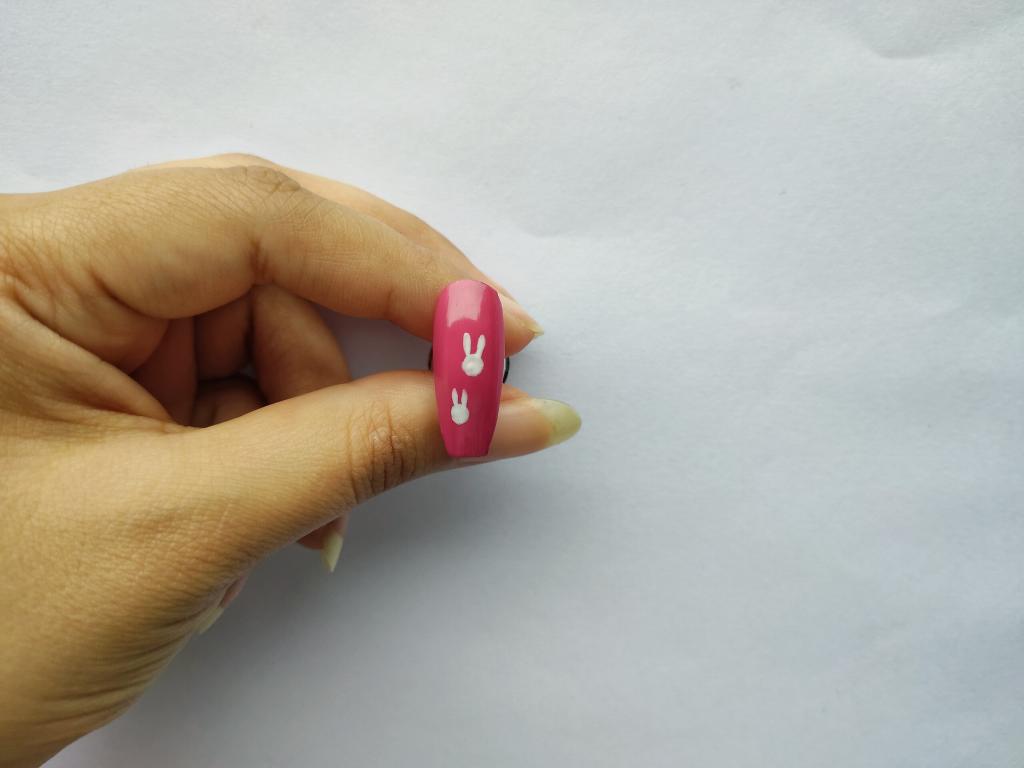
4:Try to make one more Bunny Face
follow the previous steps and make one ore bunny face. You can place it wherever you want. But try to keep some distance between the wee bunnies so you don’t mess with them.
You can make some variations also. Make some small bunnies and some big Easter bunny face nail art. But if you want to keep it more simple, just make all similar bunnies.
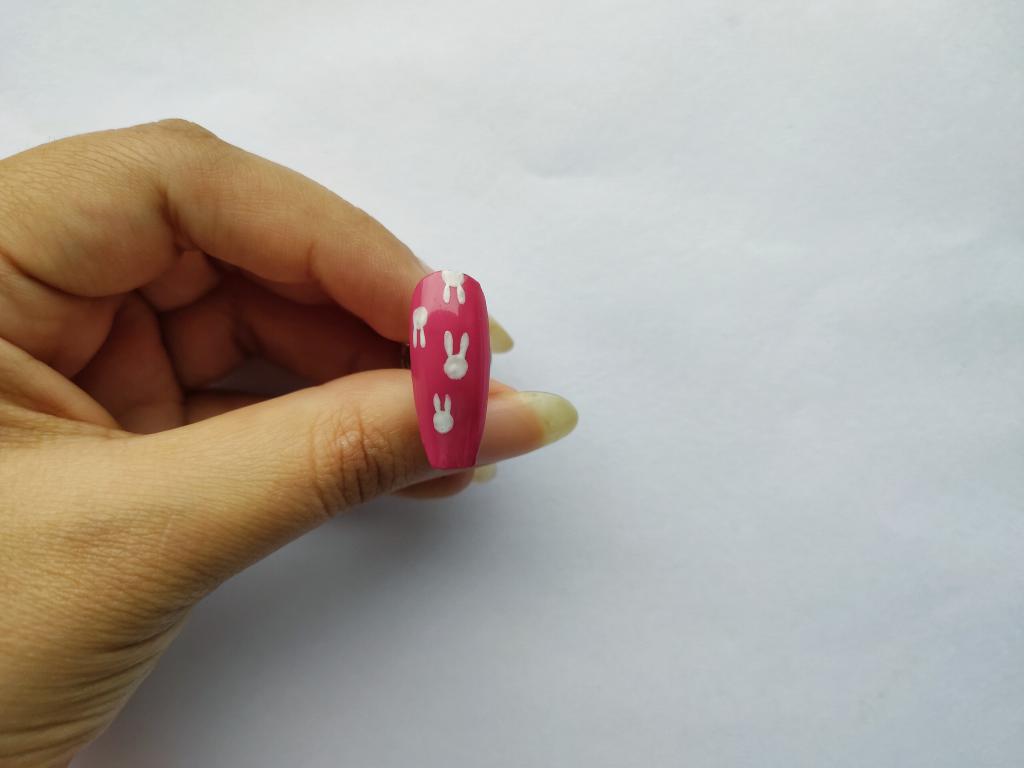
5 Complete all the Bunny faces
Before we go for eyes and more detail parts, first draw all the bunny heads on your nail. Follow all the previous steps just like you did earlier.
If you notice, you’ll see that I make half the bunny head up straight and half inverted. I make them half straight together and the other half together but you can mix both of them together too.
6 Cure your nails
Cure the gel paint under the UV/ led lamp before you proceed to the next step. I cure the gel after making all the bunny heads on my nail.
You can cure them after each bunny head if you feel like you might smudge then while making another. But I prefer to cure, after making all of them. It takes much less time in my view.

6: Make tiny Eyes
After making all the bunny heads, let’s start with the detailing part. We will only make eyes of the bunnies and not the mouth or nose.
For eyes, take the smallest size dotting tool and make the two dots as small as you can. Because big black dots won’t be looking cute on bunnies.
You can make dots with liner brush too. In the design, I make it with a brush cause I feel more comfortable with it. I feel like you can control the brush more easily than the tool. You can use whatever you are comfortable with
Also, be careful while doing eyes on inverted bunny heads. Place the small eye dots at the proper point.

7:Detail the ears
After doing the eyes its time to make the insides of bunny ears. The bunny ears are always the light pink color but it’s not necessary to make them light pink only. So I make them of two different shades and both of them look absolutely cute.
For ears, you can use any shade which is a contrast color from the base polish. I picked purple shade because of a pink base polish. The golden color goes with all most all shades.
For example, if you apply light blue shade as a base polish then take dark blue shade for bunny ears. You can use a different color for different bunnies, for a twist.
To make bunny ears dip the liner brush in gel paint and draw a very thin line inside the ears you make earlier. We need the white gel paint to be shown from underneath around the color gel paint.
The thickness of white gel paint which will be seen as an outline should be equal. This will bring your design cleanliness and beauty.
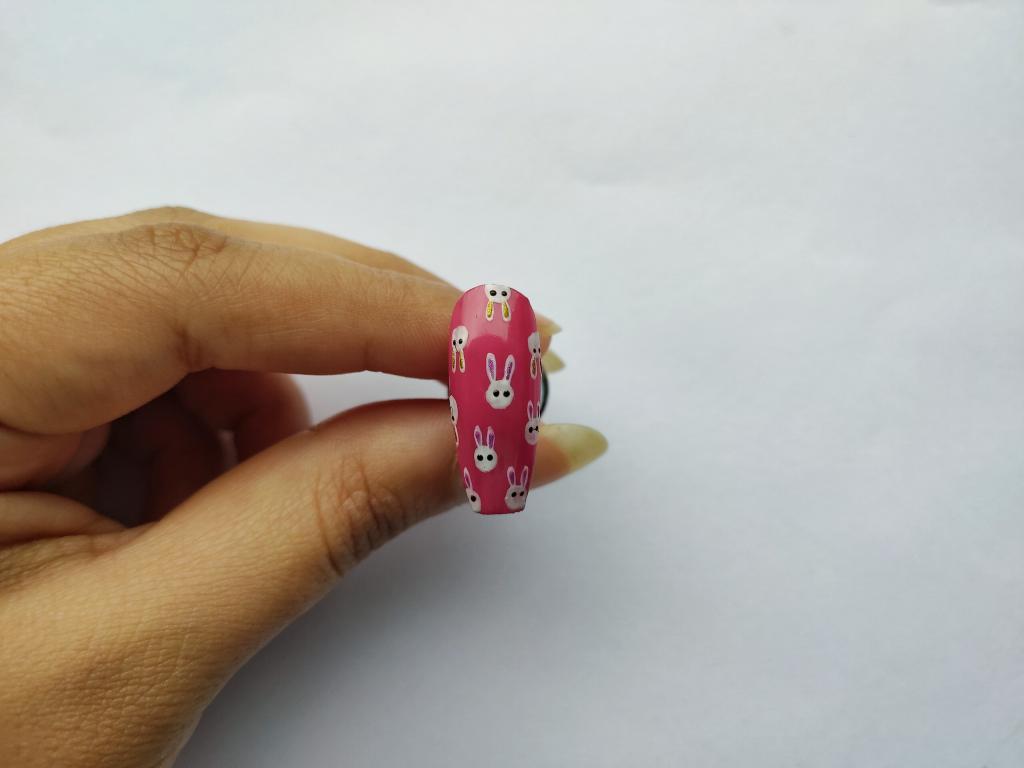
8 Finish the final look of Easter Bunny Nail Art
At the very last, Cure you gel again under UV/ led lamp. And you’re done with the design. But don’t forget to top coat the design from chipping away. It gives your design the shine and gives your design a smooth finish.
Nail Art Additional Tips for Easter Bunny
- You can do rough practice on your nails before the final try
- Use tools with which you are comfortable
- Try to use the lighter shade as compared to the base color
- You want to make it more flashy, use darker polish for the main design
- Use different colors for different bunnies, to make your design more colorful
- You can also make bunny faces bigger, decrease the number according to space left.
- Leave some space between two bunny faces
- Do not forget to cure your designs properly
- Never skip base coat to keep your nails healthy
- Apply top coat to save your easter bunny nail art for a longer period of time.
This is all about the easiest Easter bunny nail art. Do try it out and let me know how it turns out. And yeah, do not forget to write your suggestiona and demands here in the comment box.