Its winter and I cannot miss showing you new snowman nail designs. I always keep trying to create new designs and this snowman nail art is one of my new creations. It looks cute and gives the real winter feel at the same time.
I feel like this is one of the sweet and cutest winter nail designs that I have created. Everyone loves this kind of design. It looks good on all types of nails even suits for all ages of girls.
I got lots of requests for sharing some winter nail designs. Snowman nail art designs are one of the most demanded nail designs. I already have shared the steps of creating snowflake nail design and Christmas nail arts.
Sometimes, you love one design try making it and then comes the reality. Then you feel like it is not that easy as it actually seems. That’s why it is always better to checks for the steps and techniques before finally proceeding.
I always try to keep it simple and always start with the easiest steps. Here I tried describing each step in detail. Hope you will get all the points. But keep in mind whenever it feels like you are stuck or have any doubt, do not hesitate to write it in the comment section below.
How to Make Snowman Nail Designs?
Making this snowman nail art design is really very easy. You just have to make some dots and place them correctly. Just make two big dots at the center and some tiny dots too. Check out the easy steps and follow the tricks too.
Let’s begin with the products that you’re gonna use.
Products used :
1: base coat
2: teal blue “fourtone 01” from Meow cosmetics
3: gel paint “P101” from gel favor
4: gel paint “P102” from gel favor
5: glitter stamping gel “ GS09/ summer breeze” from Bornpretty
6: glitter stamping gel “GS13/countercurrent” from Bornpretty
7: dotting tools
8: a liner brush
9: UV/led lamp from Bornpretty
Featured Products:
Professional Dipping powder gel polish set-


Procedure:
1 Make Face of the Snowman
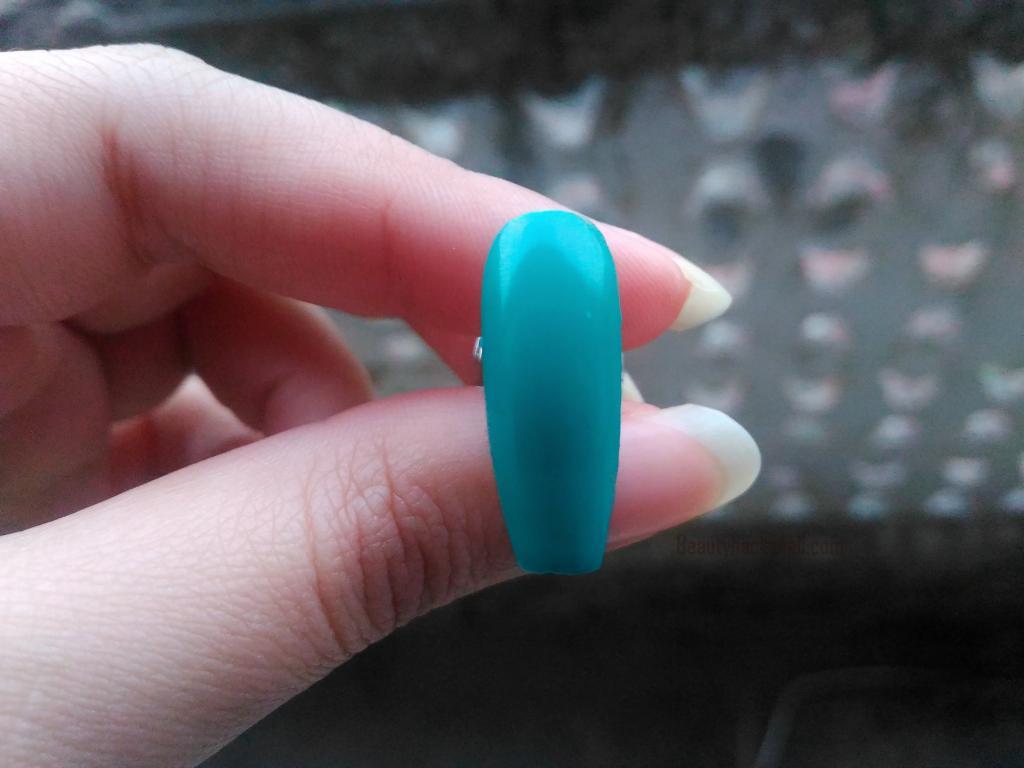
Before you start making your design, you should apply a base coat on your nails. Basecoat helps your nails from staining and protects from damage too. It acts as a wall between your nails and the polish.
I hope you now understand why should you spend on basecoat. Do not skip this step ever, if you really care for your nail.
Now, let your base coat fully dry. Apply the teal blue color polish as your base coat for your design. You can use any shade of your choice of polish. But I suggest you use light color shades.
Use lighter shades of blue to give it a look of the sky for the design. After your base polish dry, take the medium size dotting tool and make a circle in the middle of your nail.
The circle should not be too big and too high. Keep in mind You are gonna leave some space for the sky. Just place the dot a bit downward of the nail but not too down.
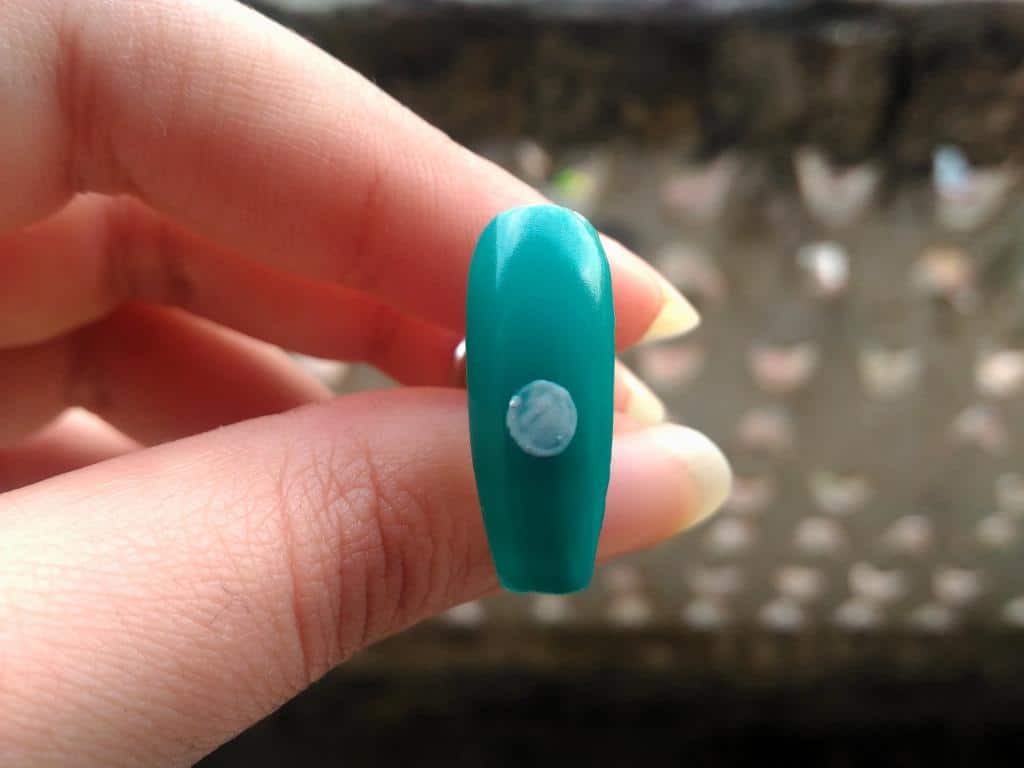
2 Make Big Fat Body
You have made the circle for the face of your snowman. Make one more circle just underneath that one. The circle has to be a little bigger than the earlier one.
I feel the circles are not big enough then do them over till you’re satisfied with them. As we all like our snowman to be fat and cute. This big dot is going to the body.
I am using gel paints for my whole design. In my view, gel polish will be easy enough to work with as you don’t have to worry about their drying. Acrylic paints can get dry in the middle. Gel paints are mostly the best for doing freehand designs.
After you are done with both the circles it’s time to cure them under the UV/ led lamp. Cure for 45s before moving forward with the design.

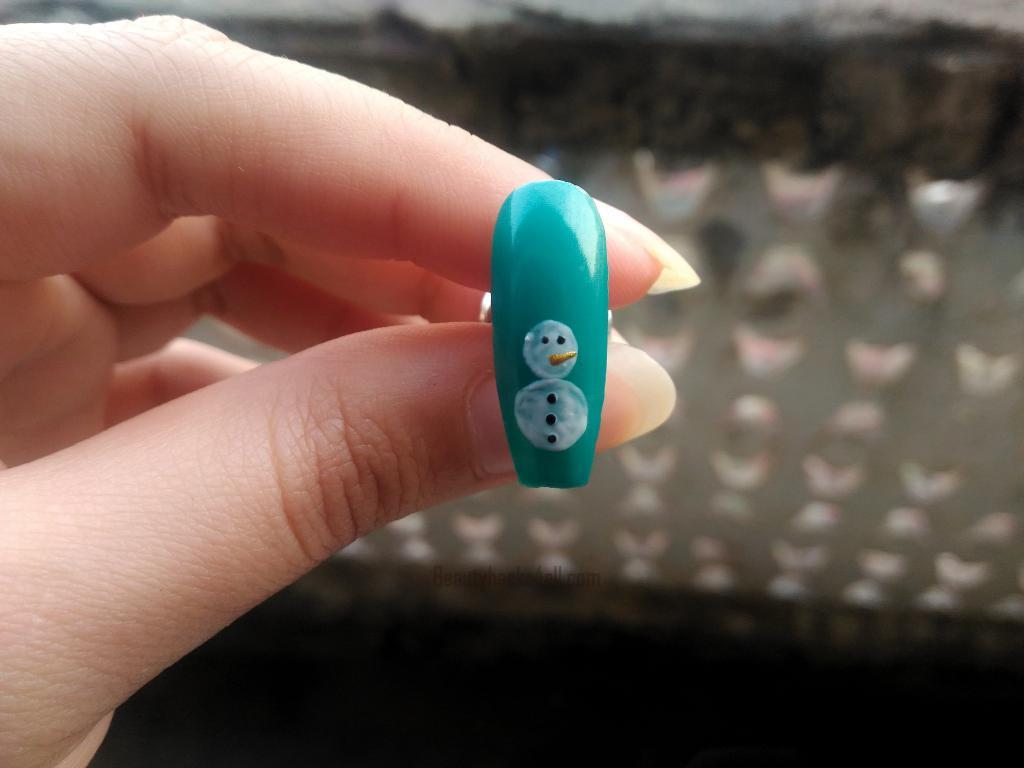
3 Make Eyes and buttons
Take the smallest sized dotting tool and make two dots side by side on the first circle. These two dots are the eyes. Place both the dots in a straight line. keep it simple and it will look cute.
Make three dots in a vertical line on the second circle. These three dots will represent three buttons. These dots have to be small, do not make it too big. Now cure the gel again for preventing it to get smudge.

4 Give him a Long Nose
Now time to give your snowman a long cute nose. I am using a golden color for the nose. You can use red to give it a traditional snowman loo. Or just go for any of your favorite colors.
After making eyes and buttons, take your liner brush and dip it in golden gel paint. We will be making a long nose for the snowman.
You have to make a long triangle first. Start with the middle of the two dots and make a long shaped triangle nose. It is supposed to be wider at the base and pointed at the top. I think it is more like a cone shape than a triangle.
5 Time to Wrap a Scarf around
It is really very cold outside and your snowman supposed to get cold. You need to wrap a beautiful warm scarf around his neck.
After making a long nose with the golden color gel paint, it’s time to make a scarf. Draw a slightly curved line on the point where both circles meeting. Suppose this as a neck area and make a cute scarf.
After that, you have to make the end part of the scarf. Simply draw two lines forming the shape (<). This will give a look at the waving scarf in the air. You can also make a bow design in the middle of the neck too.
But I like this traditional scarf weaving in the air. And it is really very easy to make. You can choose your design as well as colors according to your choice.
Your snowman’s scarf is ready it’s time to cure the gel again for it to prevent smudging.

6 Make a Hat
Now it’s time for making a lovely hat for the snowman. This is my favorite part of making this snowman nail designs. You can take any color of your choice or make your hat matching the scarf.
I want to make the hat with a totally different color so I picked one of my favorite colors- purple. This way I added more colors to the design.
You have to make a tilted like on the head of your Snowman. I am placing it slightly at one side and not in the Middle. In my view, it makes my snowman looks funky and cute.

You can make a hat on top of the head or sideways like I did. Make your choice as to if you want it yo keep simple and descent or you like a cute funky snowman as I do.
First of all start with the bottom line. I am drawing a line almost equal to the radius of the circle (face). You can make it longer or even shorter than this.
This is the base of your hat, Do not make it too long. Smaller hat looks prettier on the snowman, isn’t it?
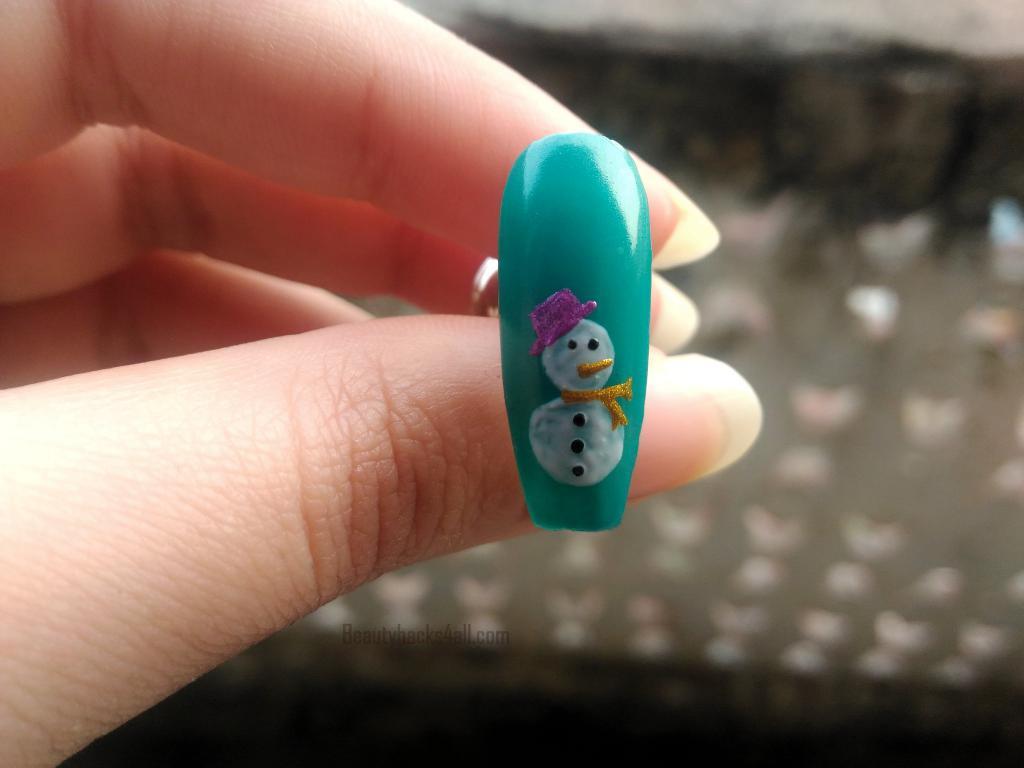
Make a tilted rectangle on the baseline and fill it with the polish. Make sure the base of the hat is slightly wider than the top. The straight rectangle will not look similar to the real hat.
Before moving to the next part of the design, cure the gel paint again under the UV/led lamp for 45s.
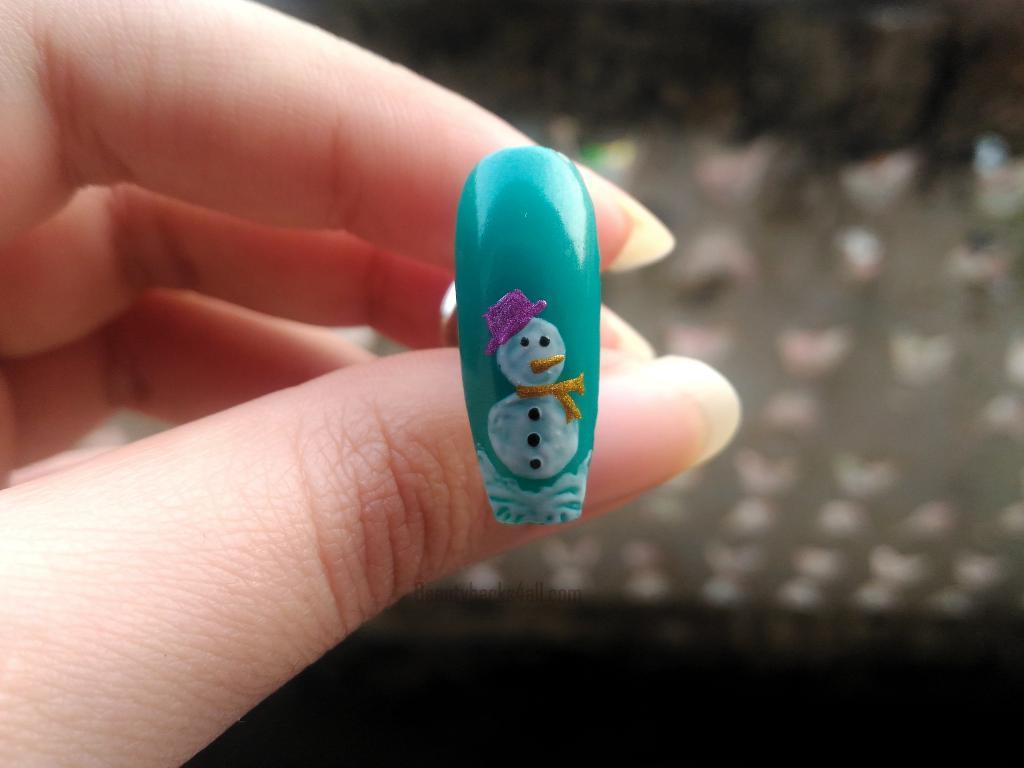
Now at this point, your snowman is totally ready. If you want to stop at this point then you surely can. See how cute my snowman is, what about you? don’t forget to let me know.
7 Spread Some Snow on the Floor
I want to give it a feel of real snowfall and iceberg. If you are agreeing too then let’s make it more real. It’s time for making ground for the snowman to stand.
Take a good amount of white color gel paint and roughly fill an area underneath the snowman nail designs. You don’t have to be neat with it.
Fill the area and make sure there are visible brush strokes. You don’t have to fill it nicely, just roughly do the base. Brushstrokes will give it look of waves.
If you fill the area completely with white, you will notice that most of your design looks white. Base polish or other colors will not be that noticeable. Try to roughly fill a little area underneath the snowman so that the base polish can be seen.
8 Time for a Snow Fall
After you are done with the ground, let us decorate the sky now. we can decorate our sky with snowflakes. Let’s do a snowfall now.
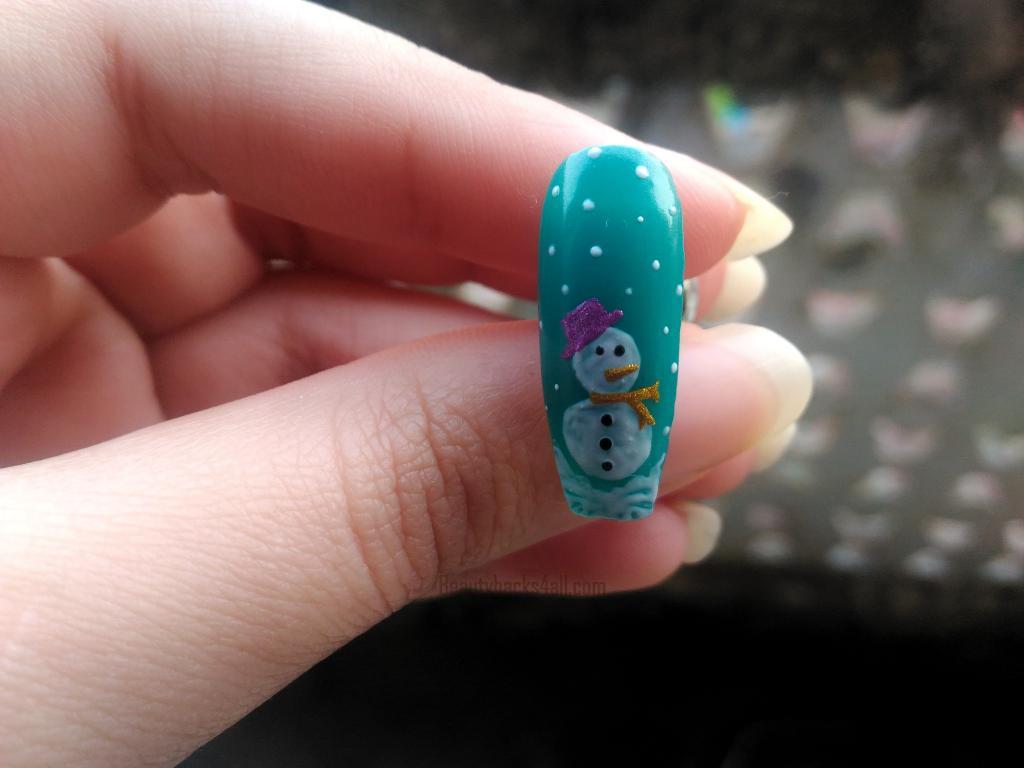
Take your small sized dotting tool and make random dots. The dots have to be as small as you can make. I don’t want my nail to look all white. Make some very tiny dots and some a little bigger than that.
You can place big and small dots alternatively as I did. No need to place all the same way. just make it get a scattering feel. It looks so pretty, there is no expertise needed. just place here and there and you are done.
It’s time to cure the gel again And you’re done with the complete Snowman design.
Skip the top Coat
I didn’t apply the top coat in this design, I used gel paints for making the whole design. Even without a topcoat gel paint stays for longer than acrylics. I wanted to ger a 3D kinda design on my nails so skipped Topcoat.
Oh! I can feel the design on my nails. Sometimes it’s good to have a textured design.
You can apply a topcoat if you like the smooth textured nail. Topcoat protects your design for even longer.
You beautiful Snowman nail art is ready to steal your look. Everyone is gonna notice your nails for sure. Hope you enjoyed it. Please comment, your demands, compliments, and suggestions below in the comment box.