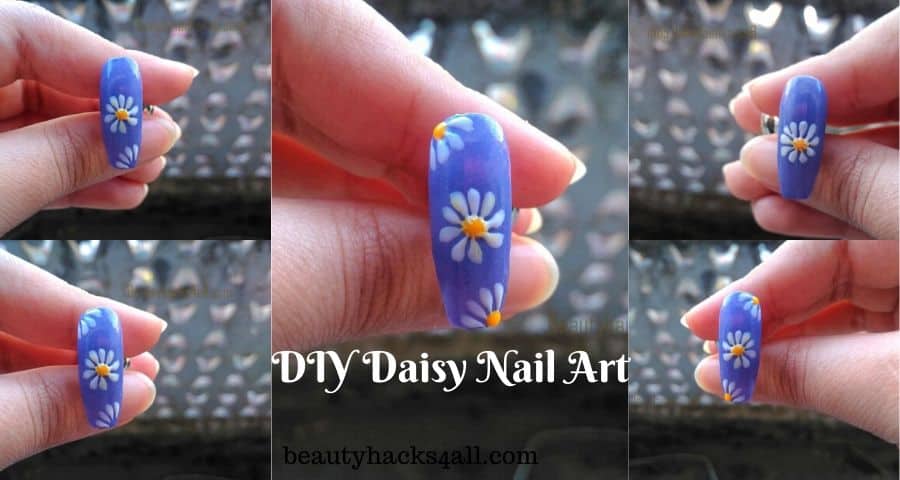
Flower nail arts are my all-time favorite. You can get it for almost all types of occasions. Daisy Nails arts attract me a lot and every time I see someone with a new design it tends me to try it.
Being a nail artist and even before being a nail artist I have a strong fetish for Nail arts. Making different patterns on my nails makes me feel beautiful and confident.
Nail art printers are very popular these days. But it is a bit expensive and not possible for everyone to buy and make designs on nails. DIY nail arts are the best way as everyone can try this at their home.
First of all, choose your colors for patterns that you want to make on your nails. colors, designs, and shapes of your nails also define your taste. It is believed that dull and dark colors are liked by most of the introverts. Brighter and bolder colors are for extroverts.
Although I don’t support these statements. But I feel like a light and neutral colors are everyone’s favorite. And For me, flower designs are the best. It looks cute as well as beautiful and is loved by almost everyone.
Flowers are the symbol of beauty, calmness, and happiness. Your flower nail art decodes some totally different characteristics within you.
Among all floral designs, Daisy nails art is one of the most popular known designs. Here I will share one of the easiest ways to get it done on your own.
You can choose the colors according to your choice. I’ll recommend you to use the exact color if you want the exact outcomes.
Also, check out- Snowflake nail designs & Small flowers nail art
Products used:-
“Basecoat” by Bornpretty
“Baby Blue Eyes” by NUGEL non UV gel
“P101” Gel Paints by Gel Favor
“P105” Gel Paints by Gel Favor
“Glossy Top Coat” by Bornpretty
“Dotting Tool”
“Liner Brush”
“Uv/ led lamp” 6w by Bornpretty
Featured Products :


How to make DIY daisy nails art?
1- Apply the base color 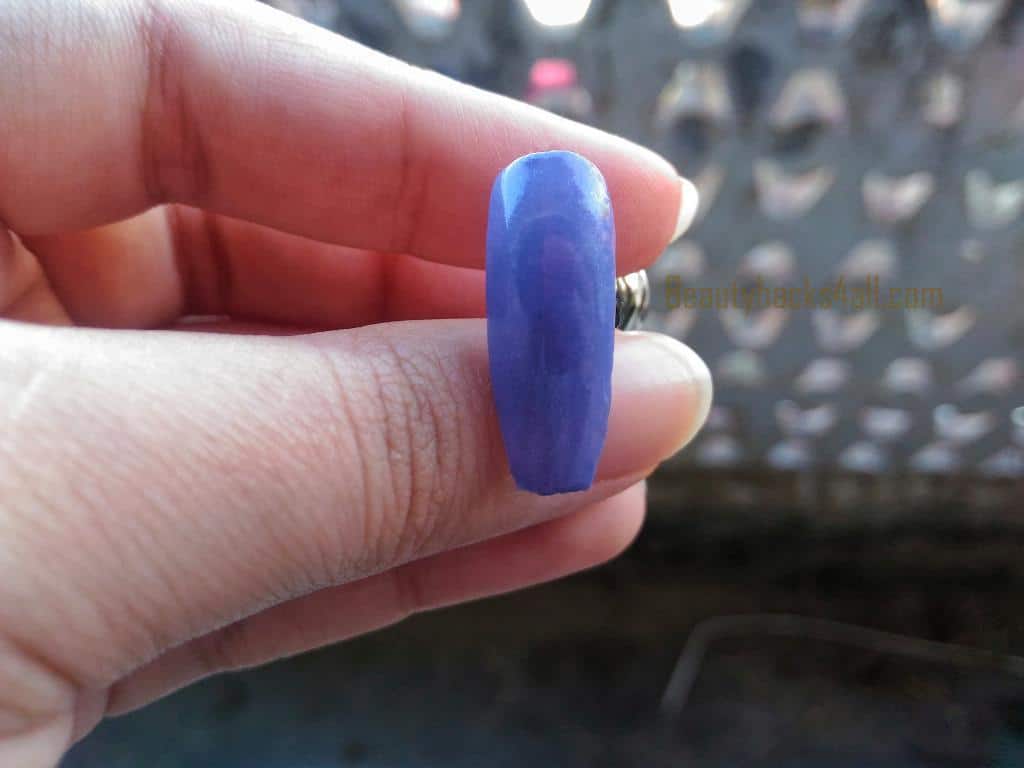
Apply“base coat” on your nails. Now paint your nails with a pastel purple color. Here I took Nugel’s “baby blue eyes”. You can use your favorite brand and color also. I prefer using dark colors these colors help enhance the final designs on nails.
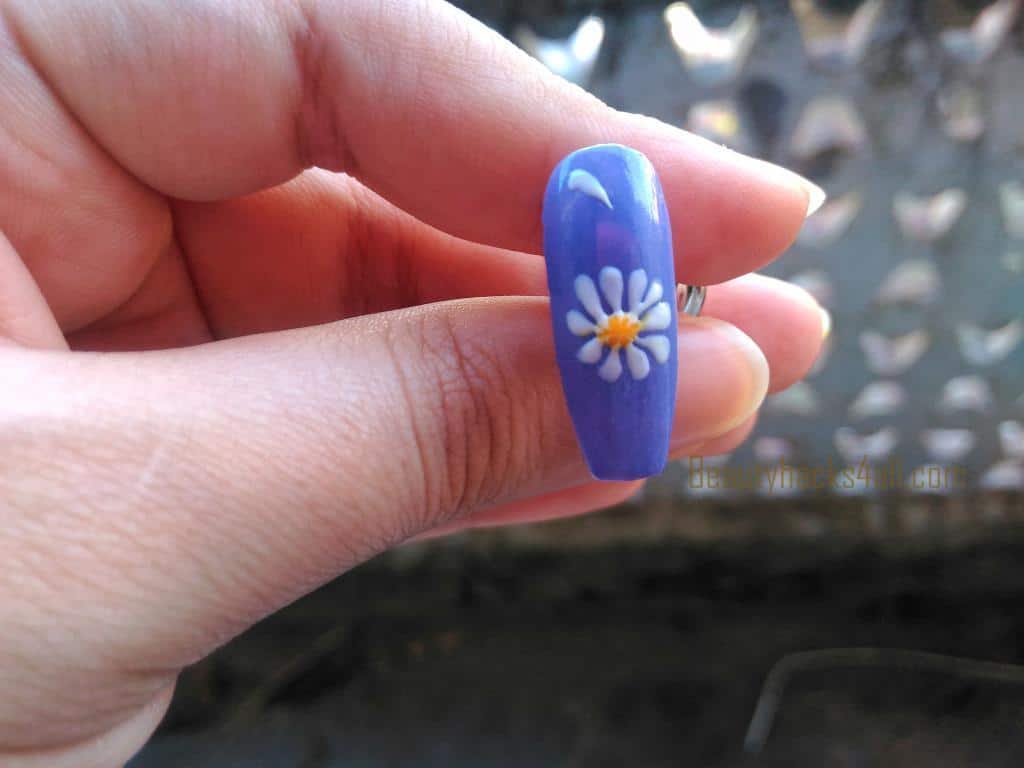
2- Now make a dot

Here I am using Nugel’s “baby blue eyes”. Wait a few minutes to fully let your polish dry first. Make a dot with yellow color gel paint by the dotting tool in the middle of your nail.
Place the dot in the middle to make the rest petals of the flower comfortably. I am making one big daisy at the center of the nail. If you want to make 2- 3 you can make dots according to it.
3-Make petals of the daisy now

You should make long thin petals using white acrylic or gel paints. Do not make the petals thick or wider. Be careful while drawing the petals on your nails.
You have to make more petals around the yellow dot. Make sure you are making it carefully. Thin long petals with wider age and narrow at the end looks more realistic.
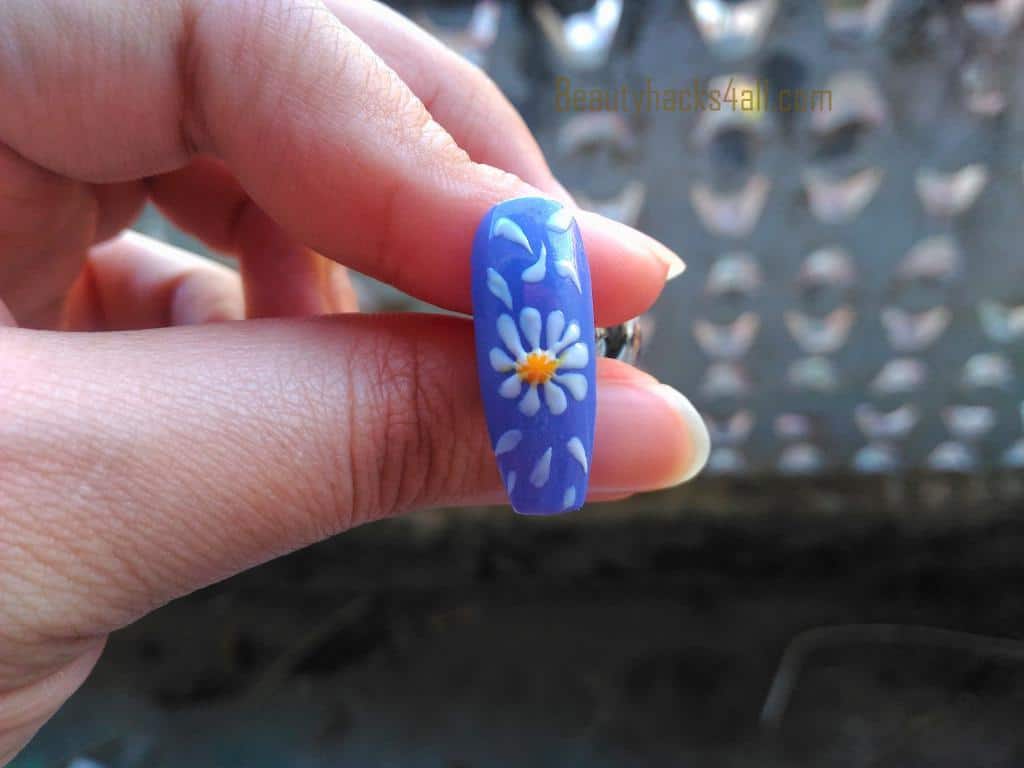
4- Make more petals

Cover the whole middle part of your nails with petals. Make thin long petals all around the yellow dot. More petals look more beautiful that’s why you should keep the dot big enough.
Keep making daisy petal designs on your nails until you get the best flower shape. Do not make it too close and avoid messing your design.
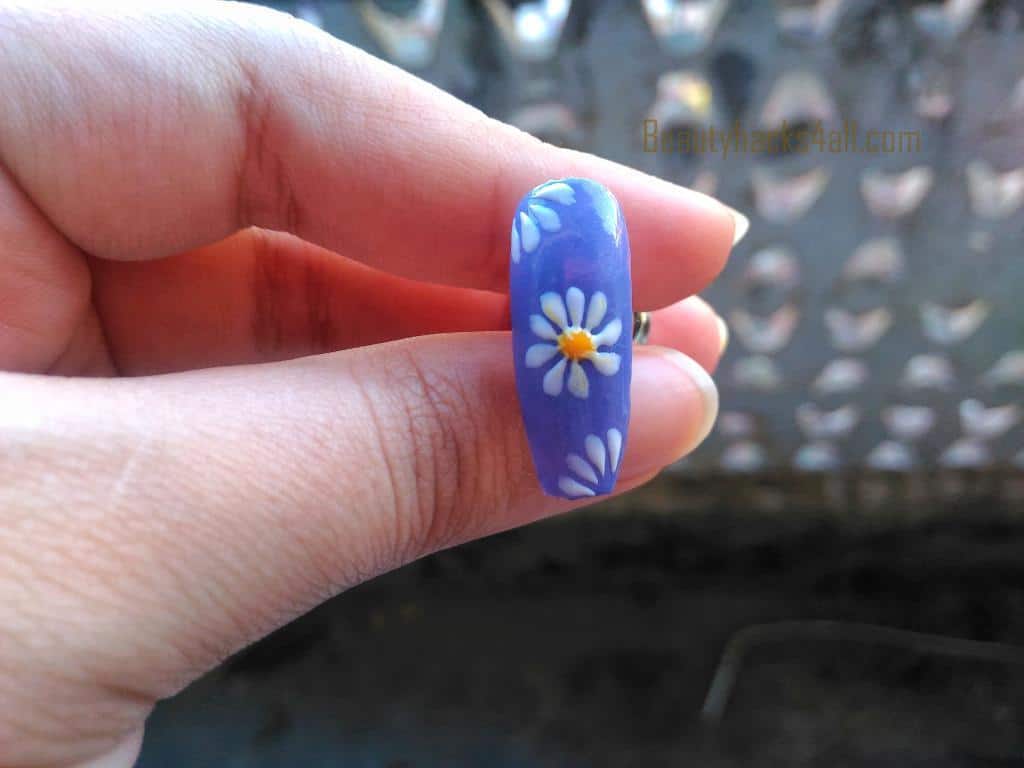
4- Complete the daisy
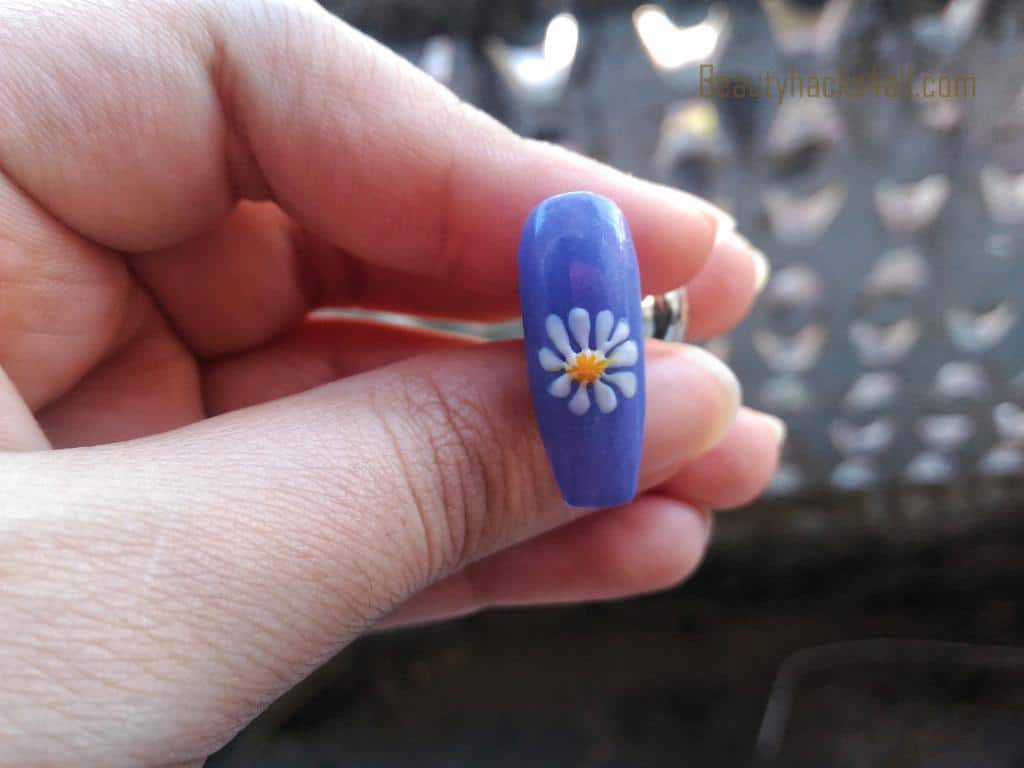
Your design is all ready and you are set to go out. This is a perfect design for you if want it to keep simple.
As we all know Basic is classic, you can keep it simple and classic. If it seems to be very simple to you, you make more flowers t fill the space.
5- it time to cure your gel
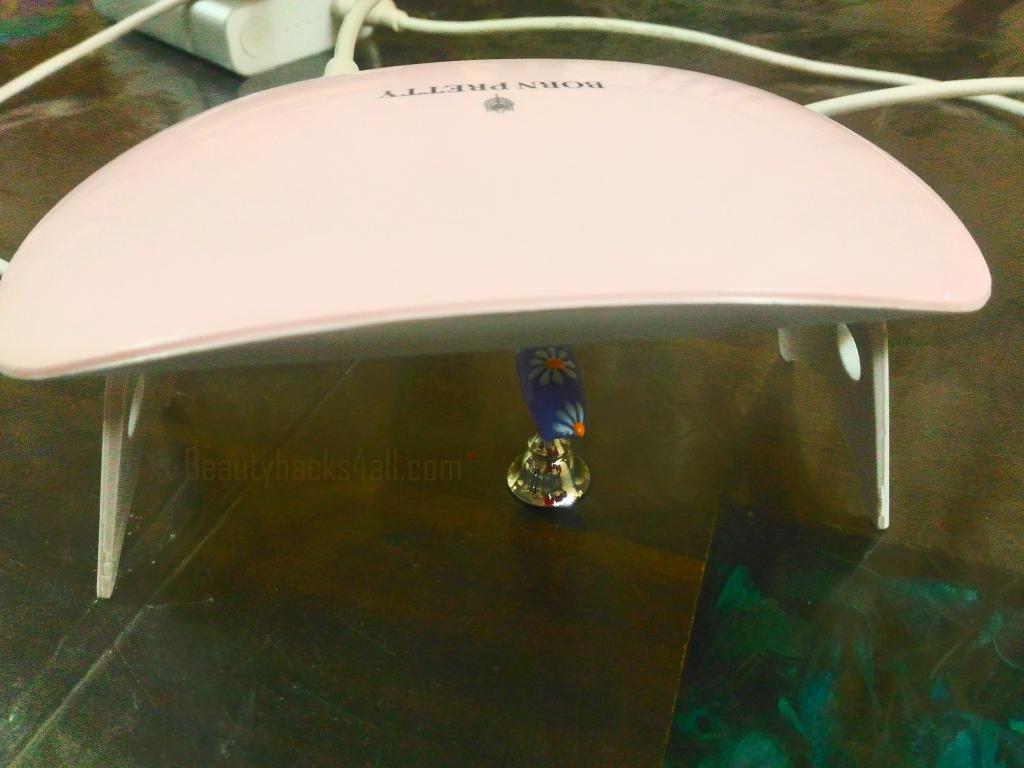
Now cure your gel nail paints under Led/UV lamp. This is a very important step if you are using gel polish. UV lamp product light which activates the photoreaction in the get polish.
The light of a particular frequency helps to speed up the process of hardening the gel. Curr your gels under the UV/ LED lamp to harden and save for longer.
If you are using Acrylic paint, let it dry completely before move further. It may take a bit more time but for the best result, wait a little longer. Let it dry completely first. Now top coat to secure your design
Glossy topcoat is the most important step for acrylic colors
You can skip this top coat step if using gel paints
Coat your nails to secure your nail art
To get a 3D look, just leave the gel nail arts without topcoat
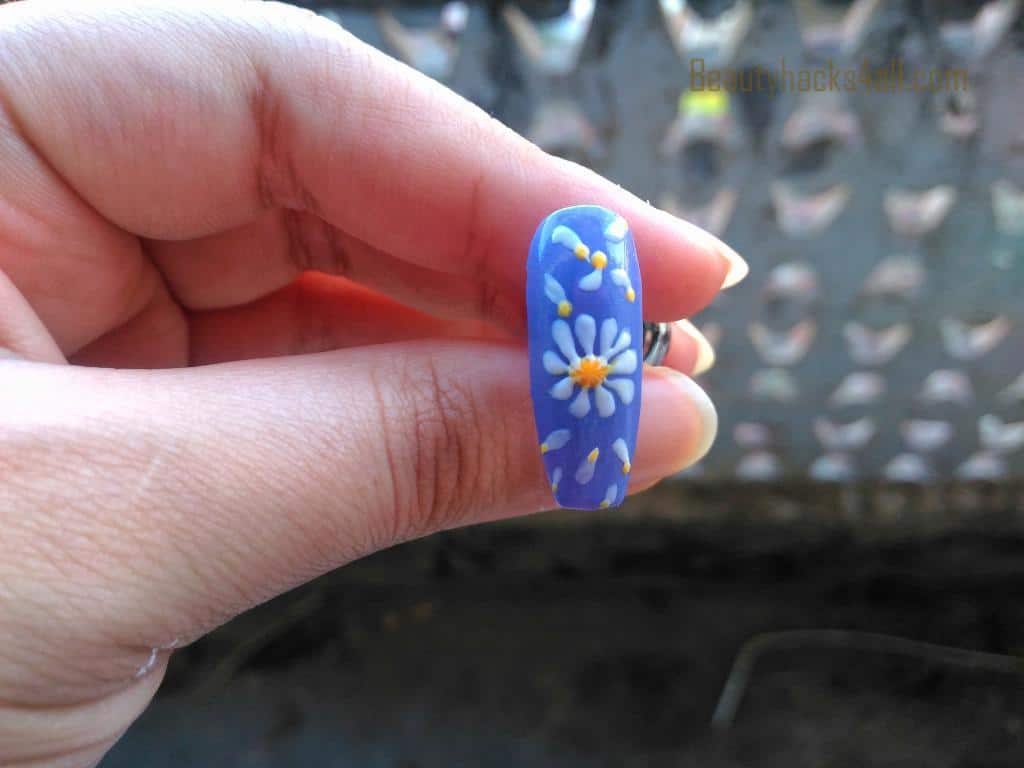
How to fill the space between the designs on nails?
At this point, you can do many things to fill the space. Make different designs and patterns of your own choice. But you should keep in mind that whatever you do, it should be less attractive than the design.

In other words, it can ruin the whole feel, if you choose the wrong color or design. If you fill the space with something more attractive than the main flower, it can steal the main souls of the design.
It looks more beautiful and classy when I fill it with petals. You can draw petals around it to give it a whole new look.
You should never make anything more highlighted and attractive that the main flower nail art design.
For example: If you want to use glitters, Use wisely. Choose lighter colors that can go with the whole match. Fill the area as much as you want. Start with the top and slowly move forward.
The size of each petal is not supposed to be the same and you don’t have to draw them close either. Just draw few petals here and there to fill the space.
Can I fill my Nail Art with only Daisy flower design?
Yes, you can draw more daisy flowers. Follow the earlier steps for making petals and dots as you did before.
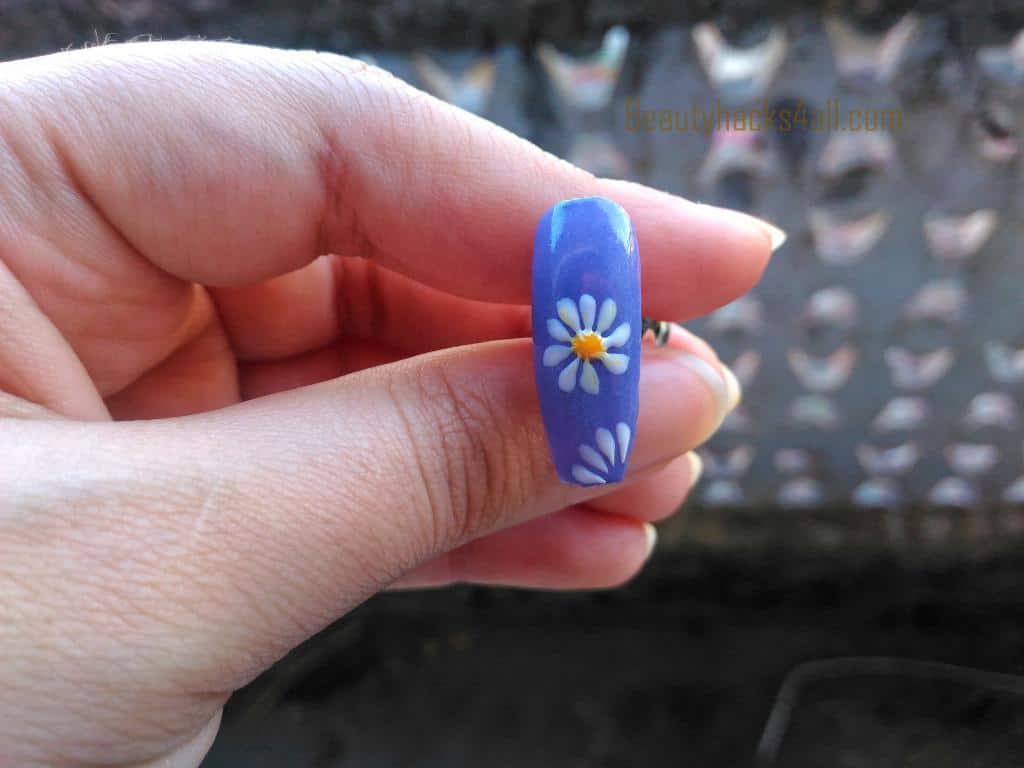
Draw more flowers but this time draw them half instead of making it a full flower. This way it will give your design a more realistic and beautiful look.
You can use the same colors that you have used for the main daisy flower design. Make half flowers at the corners of your nails. Fill the space as much as you can.

You can also use different colors but always keep in mind that it should not be brighter than the main design. Use dull colors, avoid using contrast colors.
Make the dots at the end of the imaginary center of the flower. Dots will give it look similar to the main flower and see how beautiful it look.
Things to keep in mind while making Daisy nails arts
- The base coating helps to prevent staining your nails from nail polishes. It is really an important step in making nail art. Basecoat is also important to keep your nails healthy.
- Wait a few minutes to fully let your polish dry before starting doing your design on it. Keep in mind if it’s not fully dry then you will end up ruining your polish
- If you don’t have gel paint you can make the whole design with acrylic paints too. Acrylic paints are easy to work with.
- I suggest you not to use nail polish because it dries faster and become thick.
- For Daisy flower, nail art keeps in mind that the Petal you’re drawing should be thin and long, don’t make them thick and short. Otherwise, it won’t look like a daisy flower
- For an easy start, you should always start making petals from the middle part. And then proceed by drawing next to each side of that Petal.
- You can keep your design simple and not so congested
- For fuller design fill the gaps with patterns or flower petals design.

Tips for using Acrylic nail paints:-
Do not forget to apply a glossy topcoat after making the design. It is a very important step. Your acrylic nail arts can never last longer without top coat.
Washing hands without topcoat application to your nails will wash off your designs too. Never ever skip topcoat if you want to save it for longer.
Tips for using Gel nail paints:-
Make designs with gel paints and cure your gel under a UV/led lamp. You sure can cure your gel earlier in any step if you want to. But don’t cure them after making every petal.
I always prefer to cure it at the end of making my whole design. This is the best way to cure. As in this, the use of UV light is not that harmful to your skin.
On the other hand, it gives you the freedom to change the design. You can change or modify your design if you think it is not the same design that you want.
For gel paints, it is not necessary to apply a topcoat. It is totally up to you whether you want to apply a topcoat or not. It will look like 3d design without a topcoat. But if you want your manicure to stay longer then I suggest you to topcoat it.
This is all about Daisy nails art. Do try it out and let us know how much you liked it. Drop your thoughts, query or even suggestion here in the comment box. Keep in mind we are always there to assist you.