Galaxy nail designs are very popular these days. Almost everyone is searching and trying their own galaxy nail art. The best part about this design is that you can create as much design as you can.
I am sharing one of the easiest galaxy nail designs. You can explore more by using the same technique. For a twist use different colors and dotting tools.
How to apply Nail polish at home?
Products used :
1: Base coat (normal polish)
3: “GL0074” glitter polish from “Meow cosmetics”
4: “6” glitter polish from “Meow cosmetics”
5: “P101” gel paint from “gel favor”
6: Top coat (normal polish)
8: UV/led lamp (for curing the gel paint)
How to make easy Galaxy nail Art designs?
you should start with the base coat, base polish, make design, then a top coat.
Apply Basecoat for a start
You should always start by applying a base coat on your nails. Basecoat helps your nails from staining and protects from damage. It acts as a wall between your nails and the polish. Let your base coat fully dry First before proceeding to the next step.
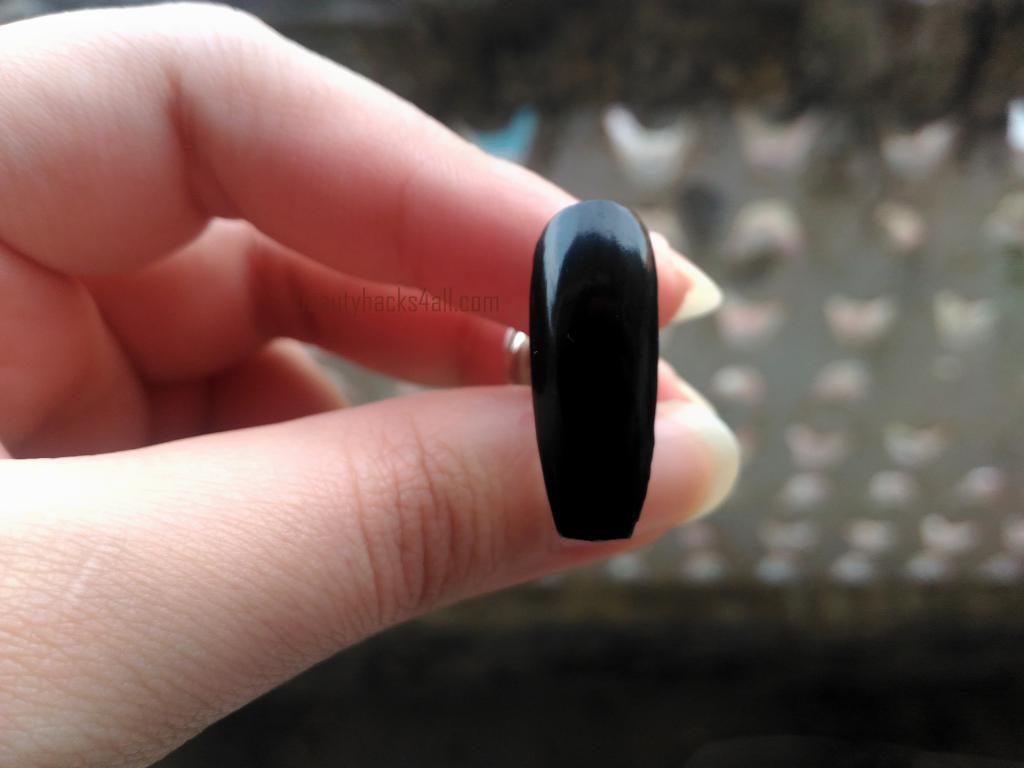
Black Posish
Apply the black color polish as a base for the design. There is one more way of making a galaxy design with white color polish as a base but we are not doing that here today.
I recommend using the darkest shade of black. You can use the lighter one also. Take plain black or for more ease use the glitter polish. But with lots of glitters will look childish. I always recommend using simple colors with minimal glitters.
Apply an even coat of black polish and let it dry completely.
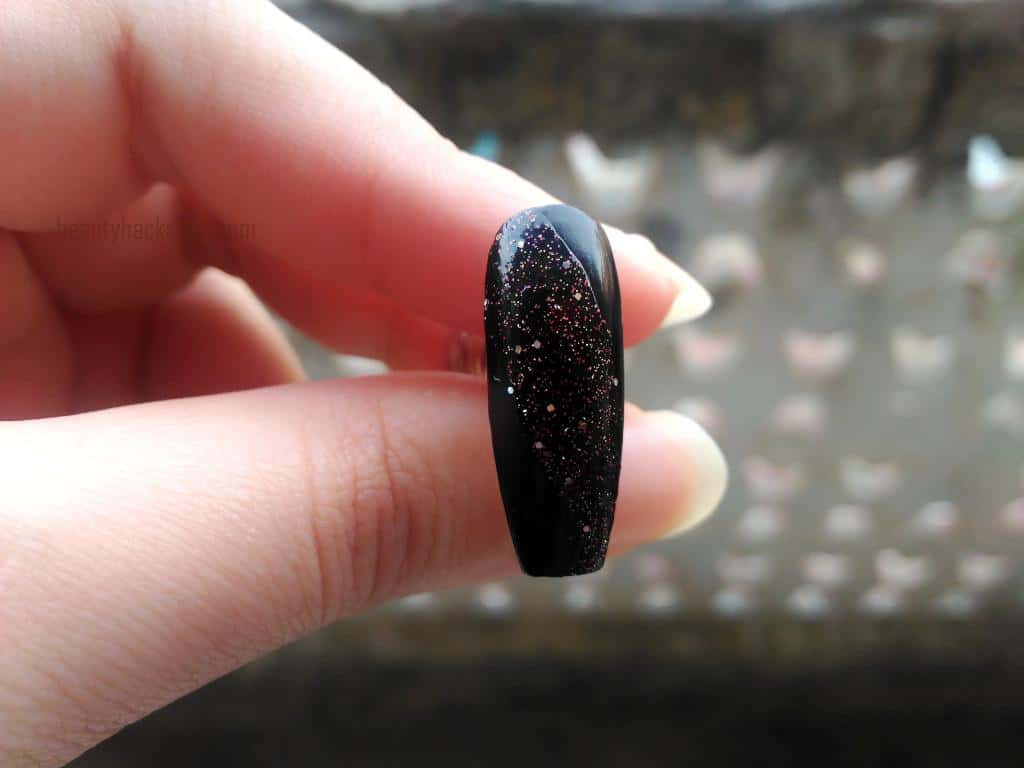
Glitters for your galaxy
Take the glitter polish which is not opaque. With one single coat, swipe one brush diagonally on your nail.
If the swipe isn’t perfect, no need to get panic we will fix it out. Some times shakey hands makes it difficult to draw even lines. Just leave it at this state.
In the next step, you will do the same thing with different glitter polish. It will cover the previous fault and there is no need to be exactly perfect.
Let the glitter polish dry then take another different color glitter polish. Do the same thing as you did before.
Repeat the previous step. In this step, you have to do the stroke of different color glitter polish using nails brush. apply on the previous glitter polish.
The glitter in the polishes will represent the stars in the sky. For this design, as you are making a galaxy you should not have to cover a whole nail. Use the glitter polish, just a diagonally line across the nail is far than enough for the design.
Note: you only have to do one stroke of each glitter nail polish in total. Just a single stroke will work. Do not apply single glitter over and over again. It will cove the apace with the glitters chunks and will look messy. After applying both glitter polishes we want the black polish from underneath to show and not the diagonal line of glitter polish.
Draw the design
After drying of the glitter polishes, it’s time to use the liner brush for making the design. At this point, you will make the stars using white color.
You can use either get paint or acrylics for the design. I prefer not to use polishes for making the design because they tend to dry quickly. No matter how fast you draw they always get thick and make it hard to draw.
Dip your brush in white color. Here I am using gel paint and drawing 3 (+) plus sign in total on the diagonal line of glitter polish. Out of these three plus (+) signs one should be bigger than other two signs. Make these signs randomly on the line and they do not need to be aligned or look similar.
You can make all 3 plus (+) signs of different sizes too.
After making the plus sign, fill the little rest empty space with small few dots. You don’t have to make many dots either just three to fours small fits will be more than enough. Fill the space and give the looks of medium size stars.
The plus sign you made will give you the look of bigger stars in the galaxy. All the small dots you made will show small stars. And the glitter polish chunks will give the look of small stars far away in the sky.
Small dots should be in the background of bigger and smaller ones. All these different sizes of stars and glitter will come together as one after you finish the design. You will be amazed with how easily you achieved the design.

Cure at the end
If you’re using gel paints for drawing the starts than cure them. But if not then you can freely skip this point.
The last and very important thing is to apply the topcoat. To seal your work and to make your design long-lasting and you’re done. This is a necessary step for you if you’re using the acrylics.
As we all know acrylics wash off with water and you don’t want to waste your work like this. apply top-coat and secure your design for longer.
How do you do galaxy nail arts?
I basically use transparent glitter polish to make galaxy design. For the base, I usually use black or the darker shade of blue or even brown. The base should be as dark as black to give the real feel.
There are many ways to make a galaxy nail art. You can draw stars using your dotting too or just use glitters for ease. use silver and golden or more different color glitters.
Use the glitters of different shame and size also. Bigger will represent the closest stars and small will be the farther. I found this technique is the simplest way to get galaxy nails.
Galaxy gel nails are more popular and you can get it your home now.