The Christmas party season is the perfect time to experiment with a little extra glam, but not everyone wants a complicated, “influencer-level” routine.
If you are a beginner or just someone who prefers simple, reliable steps, this tutorial will walk you through a full Christmas party makeup look from prep to finishing touches. Every step is broken down clearly, with practical tips and beginner-friendly techniques.
You can keep it subtle with soft glam, or switch one or two products to turn it into a bolder party look. Think glowing skin, sparkling eyes, and a flattering lip that lasts through photos, snacks, and dancing.
Quick Overview: Your Christmas Party Makeup Roadmap
-
Beginner-friendly: no complex cut creases or heavy contouring.
-
One base routine, two lip options (nude or classic red) for different moods.
-
Works for office parties, family dinners, and New Year’s with tiny tweaks.
-
Includes skin prep, long-wear tips, and a simple eye look you can reuse all winter.
-
Ideal “starter routine” you can upgrade later with lashes or glitter.

What You’ll learn Today:
-
How to prep your skin so makeup lasts all night.
-
How to build a natural-looking base without cakiness.
-
How to do soft glam eyes using just a small neutral palette.
-
How to choose and apply a beginner-friendly nude or red lip.
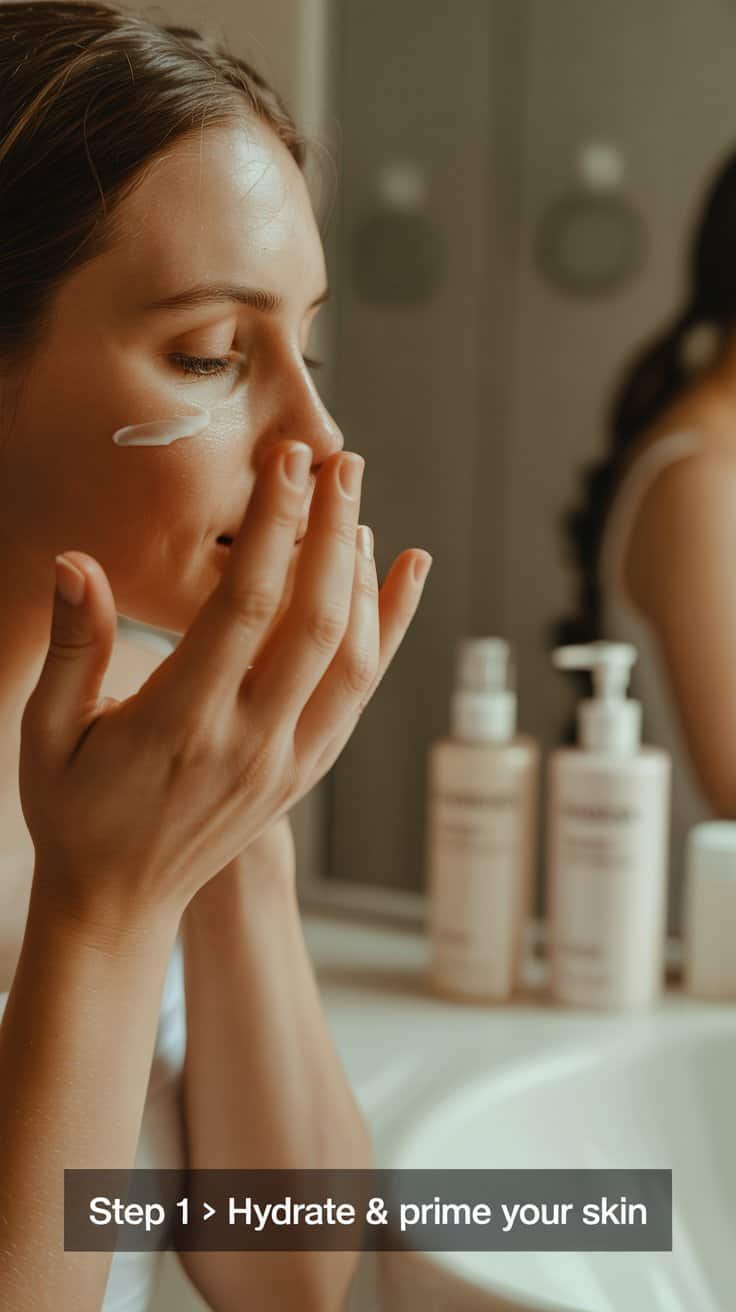
Step 1: Prep Your Skin for a Long Night
A smooth, hydrated canvas makes everything else easier and helps your makeup last longer. Start with clean skin; gently cleanse away oil, old makeup, and SPF. Follow with a hydrating toner or essence if you use one, then apply a lightweight moisturizer that suits your skin type. Give it a couple of minutes to sink in fully so your base doesn’t pill.
Next, apply a primer focused on your personal needs. If you have dry or normal skin, choose a hydrating or glowy primer that adds a subtle radiance. If you’re oily or combination, a pore-blurring or oil-control primer focused on the T‑zone can keep shine at bay.
Apply a thin, even layer rather than a thick coat; too much primer can actually make foundation slip. Let it set for another minute before moving on. This careful skin prep prevents patchiness, keeps your base in place, and helps everything look smoother in party photos.
To-Do:
-
Gentle cleanse – never layer makeup on top of old product.
-
Moisturiser matched to your skin type (gel for oily, cream for dry).
-
Primer focused on your main concern (glow or oil control).
Check out These Amazing hydrating primers on Amazon
Step 2: Create a Flawless but Natural Base
For a Christmas party look, aim for a base that looks even and polished but not heavy. Beginners do best with a medium-coverage foundation or a buildable skin tint. Dot a small amount onto the center of your face (cheeks, sides of nose, forehead, chin) and blend outward using a damp makeup sponge or a soft foundation brush. Work in thin layers; you can always add more to areas that need extra coverage.
After foundation, apply concealer where you truly need it: under the eyes to brighten, around the nose to hide redness, and on any visible blemishes. Use a shade close to your skin tone for blemishes, and a slightly lighter shade to brighten under the eyes. Tap, don’t drag, with your sponge or fingertip for a seamless blend.

Lightly set only the areas that crease easily—under eyes, smile lines, and around the nose—with a translucent powder. This helps your base hold up while still keeping some glow.
Check out- Medium Coverage Foundation, Concealer, Translucent Makeup Powder
Step 3: Add Soft Dimension with Bronzer, Blush, and Highlighter
A flat base can look “mask-like” in photos. Adding gentle dimension with bronzer, blush, and highlighter brings back warmth and shape to your face. Start with bronzer in a shade just one or two tones deeper than your skin. Using a fluffy brush, apply it lightly to the areas where the sun naturally hits: around the perimeter of your forehead, under your cheekbones, and along your jawline. Blend until you see a soft shadow rather than obvious stripes.
Next, choose a blush that flatters your undertone—peachy shades suit many skin tones, while rosy tones look classic for winter. Smile slightly and apply blush to the apples of your cheeks, then sweep it back toward your temples for a lifted effect.
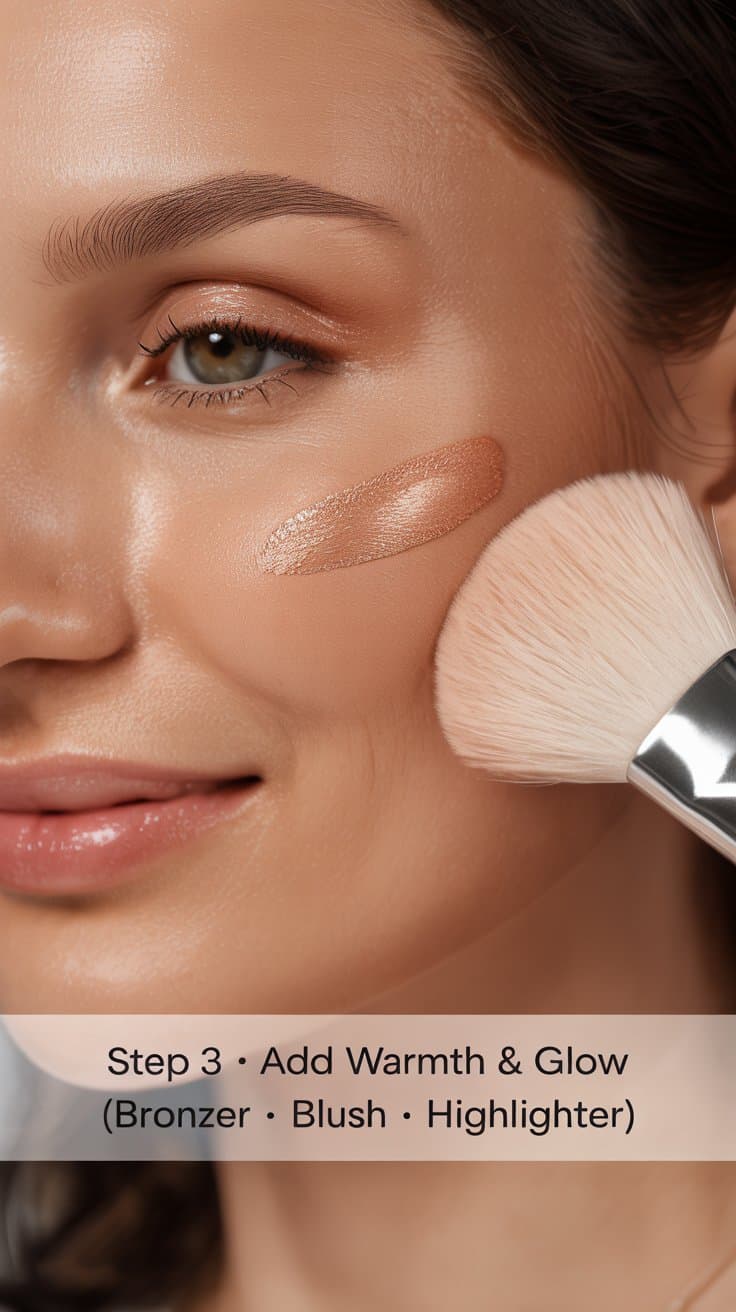
Finish with a subtle highlighter on the tops of the cheekbones, the bridge of the nose, and the inner corners of the eyes if you like a bit of extra glow. Use a light hand; you want a luminous sheen, not a metallic streak. This trio of products makes your face look healthy, fresh, and party-ready.
Check out my Favourite Bronzer, Blush, and Highlighter on Amazon.
Step 4: Beginner-Friendly Christmas Party Eyes
Eye makeup often feels intimidating, but this look keeps things simple and flattering for everyone. Start by lightly filling in your brows with a pencil or powder that matches your hair color. Use small, hair-like strokes and focus mainly on sparse areas. Brush through with a spoolie to soften any harsh lines and keep them natural.
For eyeshadow, choose a small neutral palette with a matte transition shade, a slightly deeper shade, and a shimmery lid color—gold, champagne, or soft bronze works beautifully for Christmas. First, sweep the matte transition shade into the crease with a fluffy brush to add soft depth. Then press the shimmer shade onto the mobile lid using your fingertip or a flat brush. If you want a little extra drama, take a deeper matte shade and tap it lightly on the outer corner of the eye, blending inward just a bit.
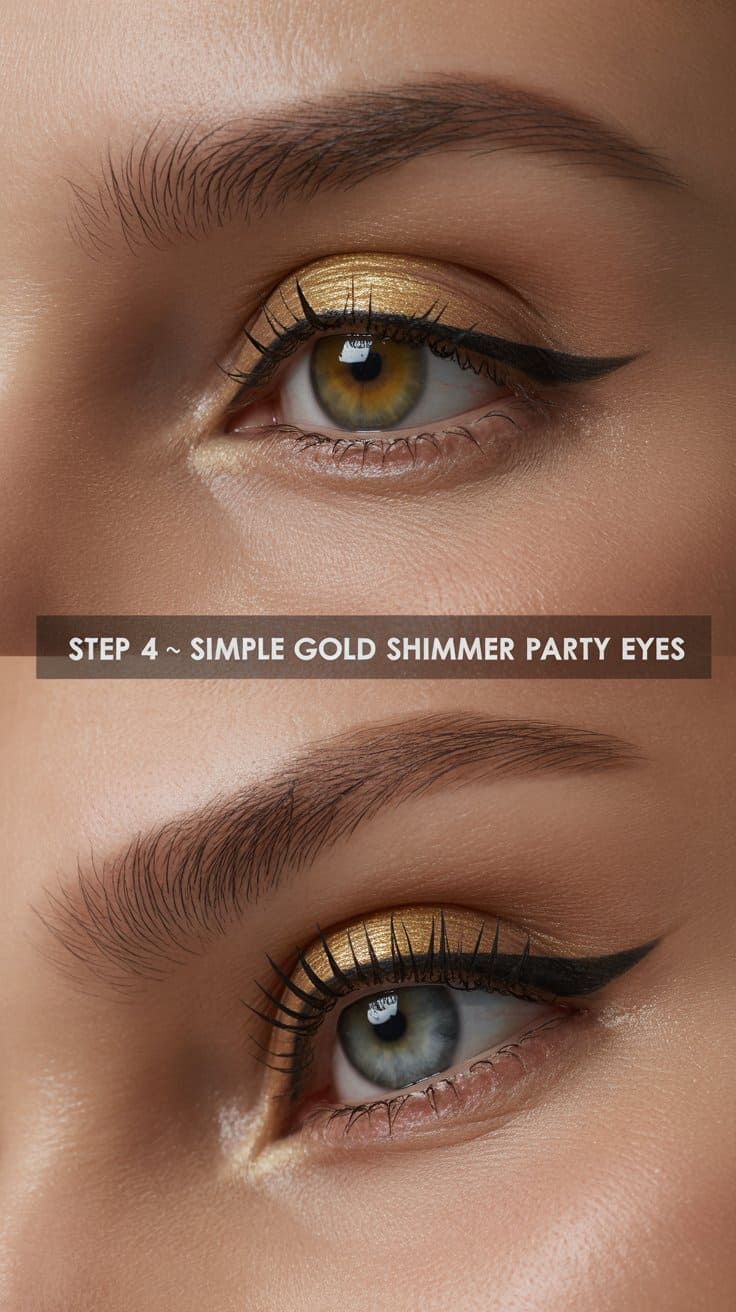
Instead of a tricky sharp wing, beginners can try a soft “smudged liner.” Use a brown or black pencil along the upper lash line, then smudge it gently with a small brush or cotton bud. Finish with two coats of volumizing mascara on the top lashes and one light coat on the lower lashes. The result is a bright, softly defined eye that pairs well with either a nude or red lip.
To-Do:
-
Stick to 2–3 shadows max (transition, lid shimmer, optional depth shade).
-
Use matte shade first; shimmers go on movable lid only.
-
If you’re unsure, smudge pencil liner instead of drawing a sharp wing.
My favourites: Brow Pencil, Neutral Eyeshadow Palette, Eyeliner, Mascara.
Step 5: Choose Your Lip – Nude or Classic Red
The lip you choose will decide whether your final look leans soft glam or bold festive. For a beginner-friendly nude lip, pick a shade slightly deeper than your natural lip color in a creamy or satin finish. Outline your lips with a matching lip liner to prevent feathering, then fill in with lipstick or a tinted balm. This option is forgiving, easy to touch up, and pairs well with slightly bolder eye looks.
For a classic Christmas red, spend a bit more time on prep. Gently exfoliate your lips with a scrub or a damp washcloth, then apply a thin layer of lip balm and blot off any excess. Outline with a red lip liner that matches your lipstick to create a clean shape and prevent bleeding.
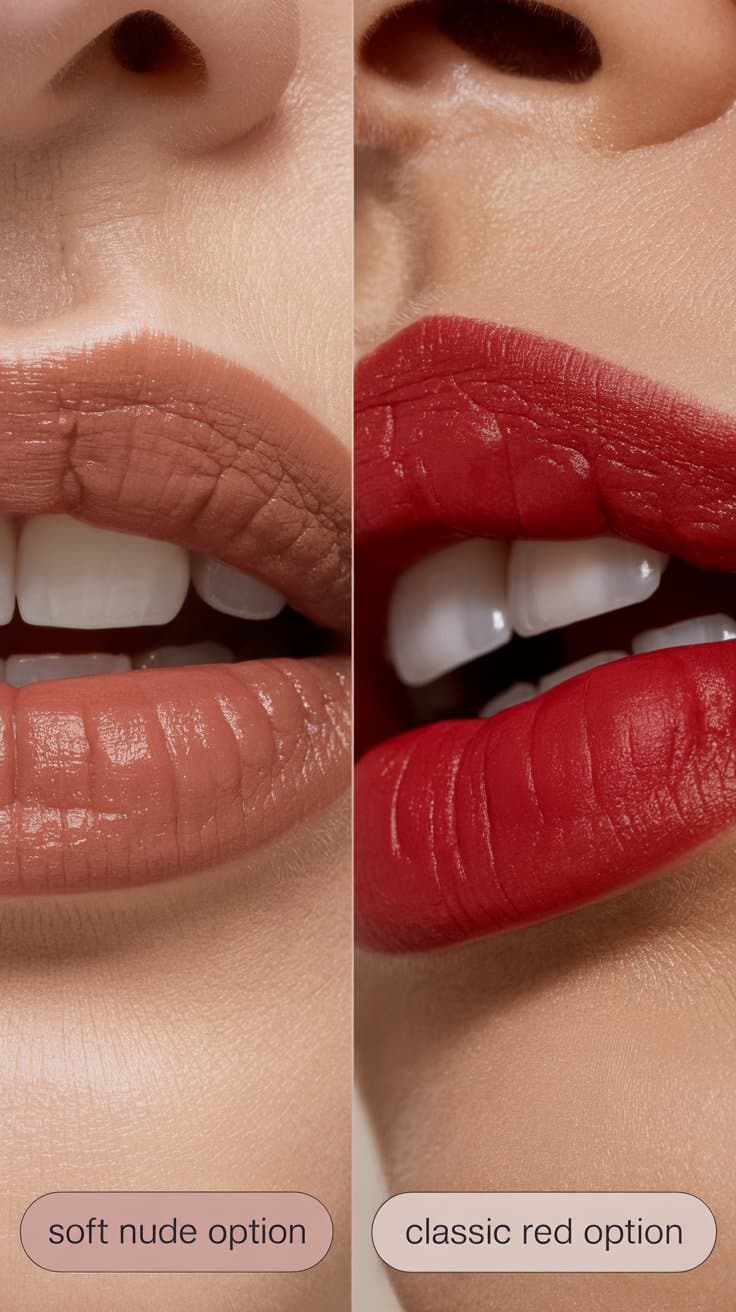
Fill in with a long-wearing red lipstick or liquid lip. Blot once with tissue and reapply a thin second layer for extra longevity. If full-on red feels too strong, you can tap the lipstick on with your finger and blend it out like a stain, then add clear gloss in the center for dimension.
Both lip options can be swapped easily depending on your outfit or mood, but the rest of the makeup remains the same.
Check out my fav Red & Nude Lipsticks on Amazon.
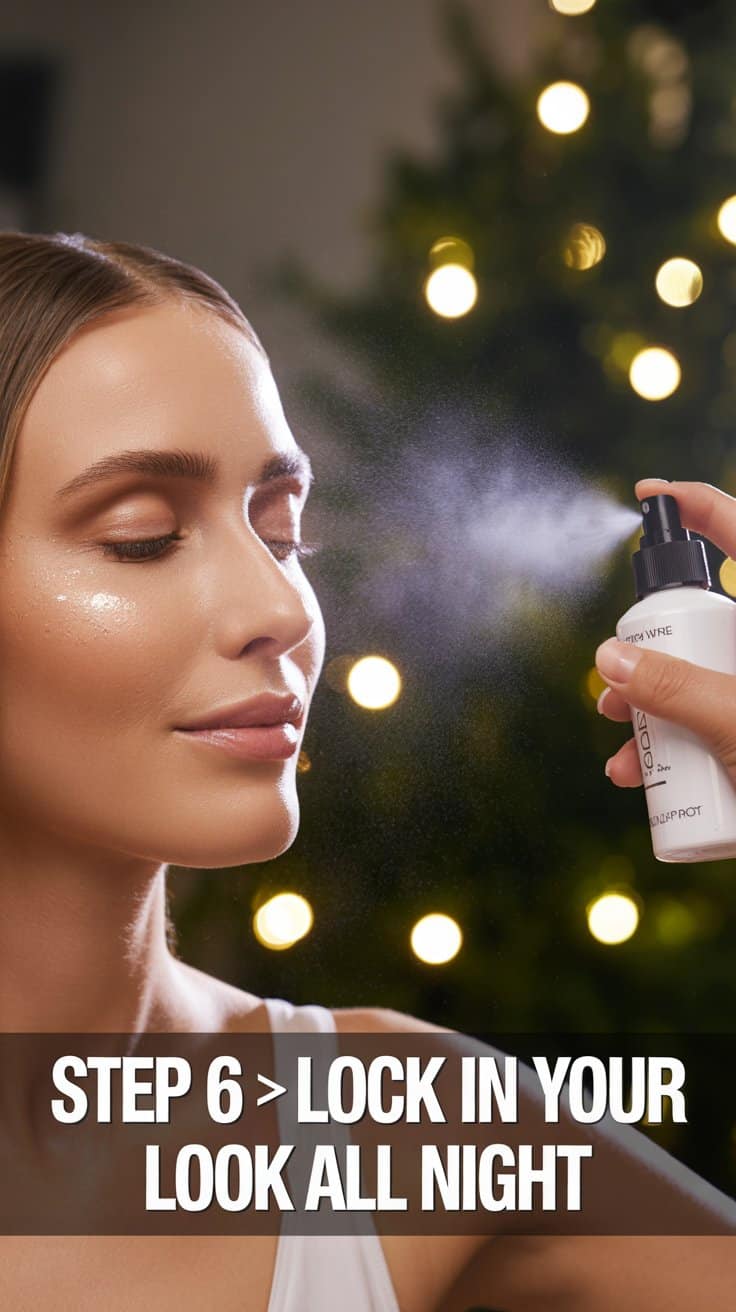
Step 6: Lock Everything In for the Party
The final step is to make sure all your work survives heat, laughter, dancing, and maybe a few festive snacks. A good setting spray helps melt the powder products into the skin while also increasing the wear time of your makeup.
Hold the bottle at arm’s length and mist your face evenly, moving your hand in an “X” and “T” pattern so every area gets a light coating. Allow it to dry naturally—don’t fan your face, because you want the formula to set.
For very long nights, prepare a tiny touch‑up kit to put in your bag: blotting papers or a compact powder for shine, your chosen lipstick or gloss, and perhaps a travel-size setting spray. Tap away excess oil gently before reapplying any product. With this simple maintenance, your Christmas party makeup look should stay fresh and flattering for hours, without needing a complete redo.
“Pocket Touch-Up Kit Checklist”
-
Blotting papers or a mini powder.
-
Your chosen lipstick or gloss.
-
A few cotton buds for smudges.
-
Tiny mirror or phone camera for checks.
How to Turn This into a New Year’s Eve Look
One of the best things about this beginner base is how easy it is to dial up for New Year’s Eve. Keep all the same steps for skin, cheeks, and brows. To create a NYE version, simply increase the shimmer and contrast. Deepen the outer corner of the eyes with more of the darker matte shade, or add a touch of glitter eyeshadow or liquid shimmer on the center of the lid.
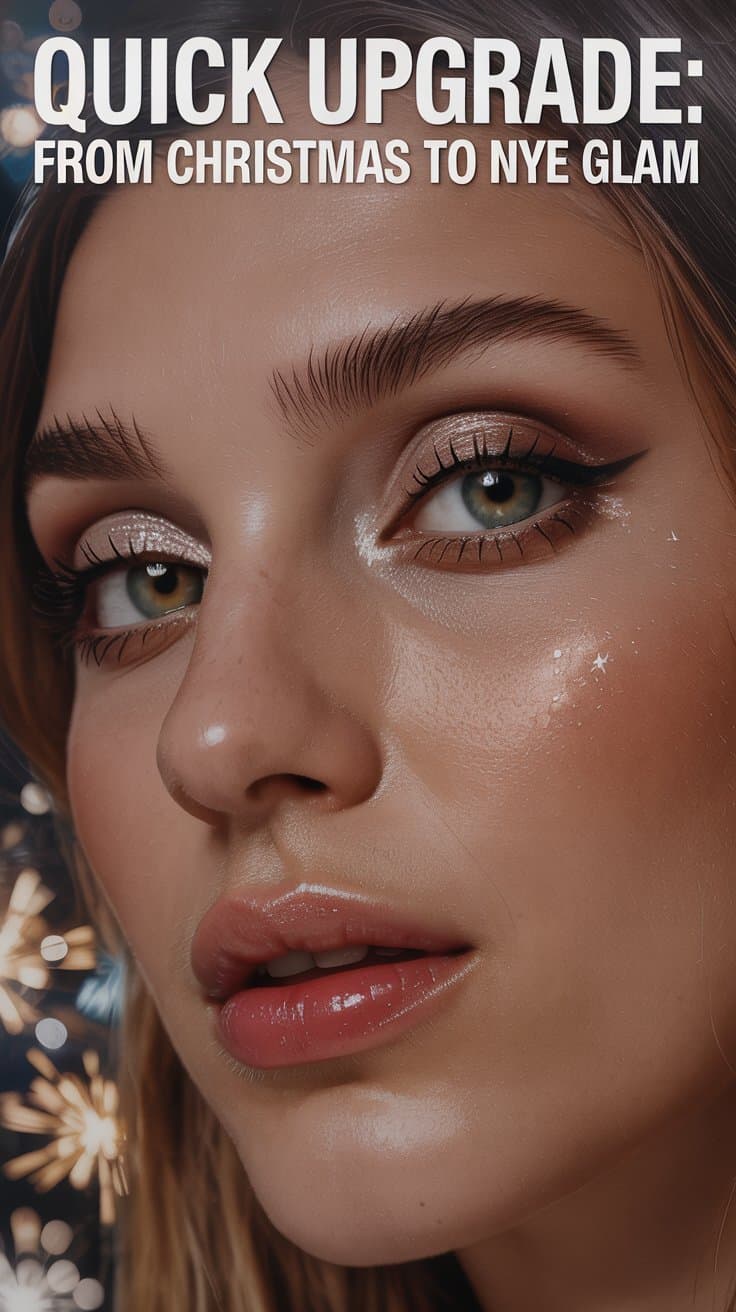
Swap your nude lip for the bold red, or layer a gloss with fine gold shimmer over your existing shade. If you feel confident, you can also sharpen your smudged liner into a small wing using a liquid or gel liner. With a few strategic tweaks, you get a second-party look from the same core routine—ideal for content repurposing and beginner comfort.
Final Thoughts: A Party-Ready Look You Can Rely On
This Christmas party makeup look is designed to be realistic, repeatable, and beginner-friendly, so you never feel overwhelmed getting ready for a festive event.
By focusing on good skin prep, a natural but polished base, soft definition around the eyes, and a lip choice that matches your mood, you get a complete routine that always looks put-together in real life and in photos.
The best part is that you can keep using the same steps all winter, and with a few small tweaks, easily turn it into a New Year’s Eve or date-night look. Save this routine, experiment with different colours and finishes. Let getting ready for parties become one of the most enjoyable parts of your holiday season.